
The navigation menu allows you to navigate in your Study Bible. There are a couple different options for the navigation menu depending on your preferences.
Using the Navigation Menu
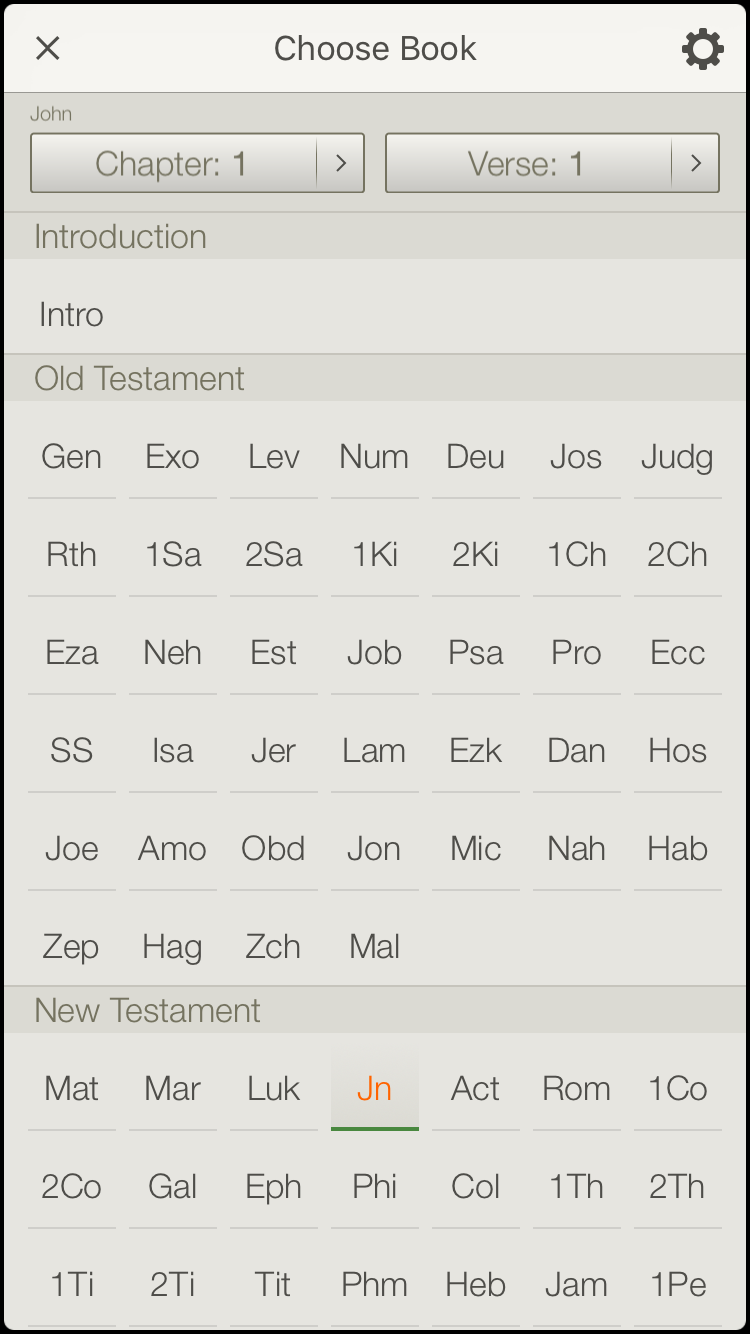
To access the navigation menu while viewing the NIV Bible, tap the drop-down menu on the toolbar that displays your current location (e.g. John 1:1-12). Select your desired book-chapter-verse combination to navigate to that location.
Different Navigation Menu Views
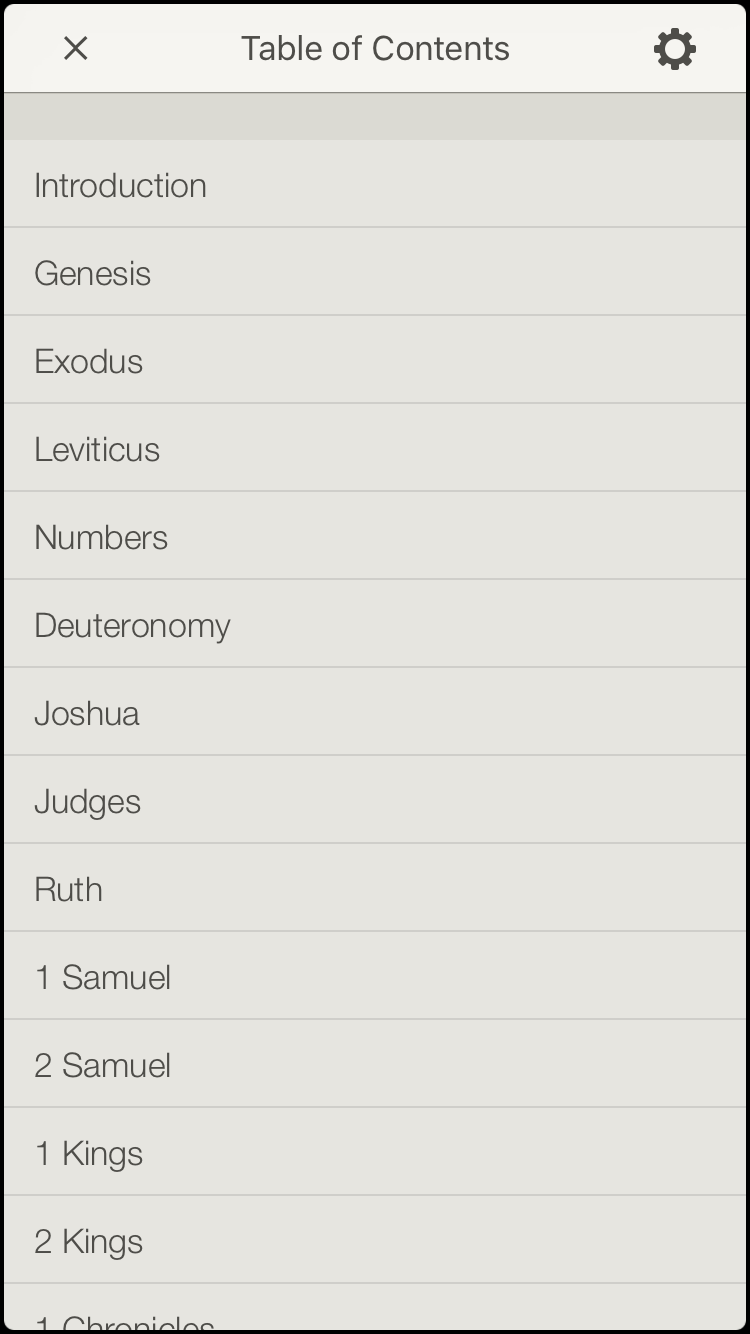
The navigation menu has two different views that enable you to navigate through the Bible. The views are 'Grid Layout' and 'List Layout'. To switch between views, open the navigation menu, tap the Settings icon in the upper right corner, and tap the view you prefer to use.
The grid layout allows for quick navigation with minimal scrolling. The list layout displays the full names of the Bible books in a list.
When you tap on the Settings icon in the navigation menu, you’ll also notice an option to ‘Enable Shading’ that is only available for the grid view. Enabling this feature will shade the grid to show the different genres of the Bible: Law, History, Poetry, Major Prophets, Minor Prophets, Gospels, History, Pauline Epistles, General Epistles, and Revelation.

Location Highlighted
Each time the navigation menu is opened, it displays the current location near the top of the screen. You will also notice these locations selected in the navigation grid.
*Note: Photos on this page were taken from the NIV Zondervan Study Bible App, but apply to all Study Bible Apps.*