To create a note, tap on a verse number or select text where you would like to add a note.
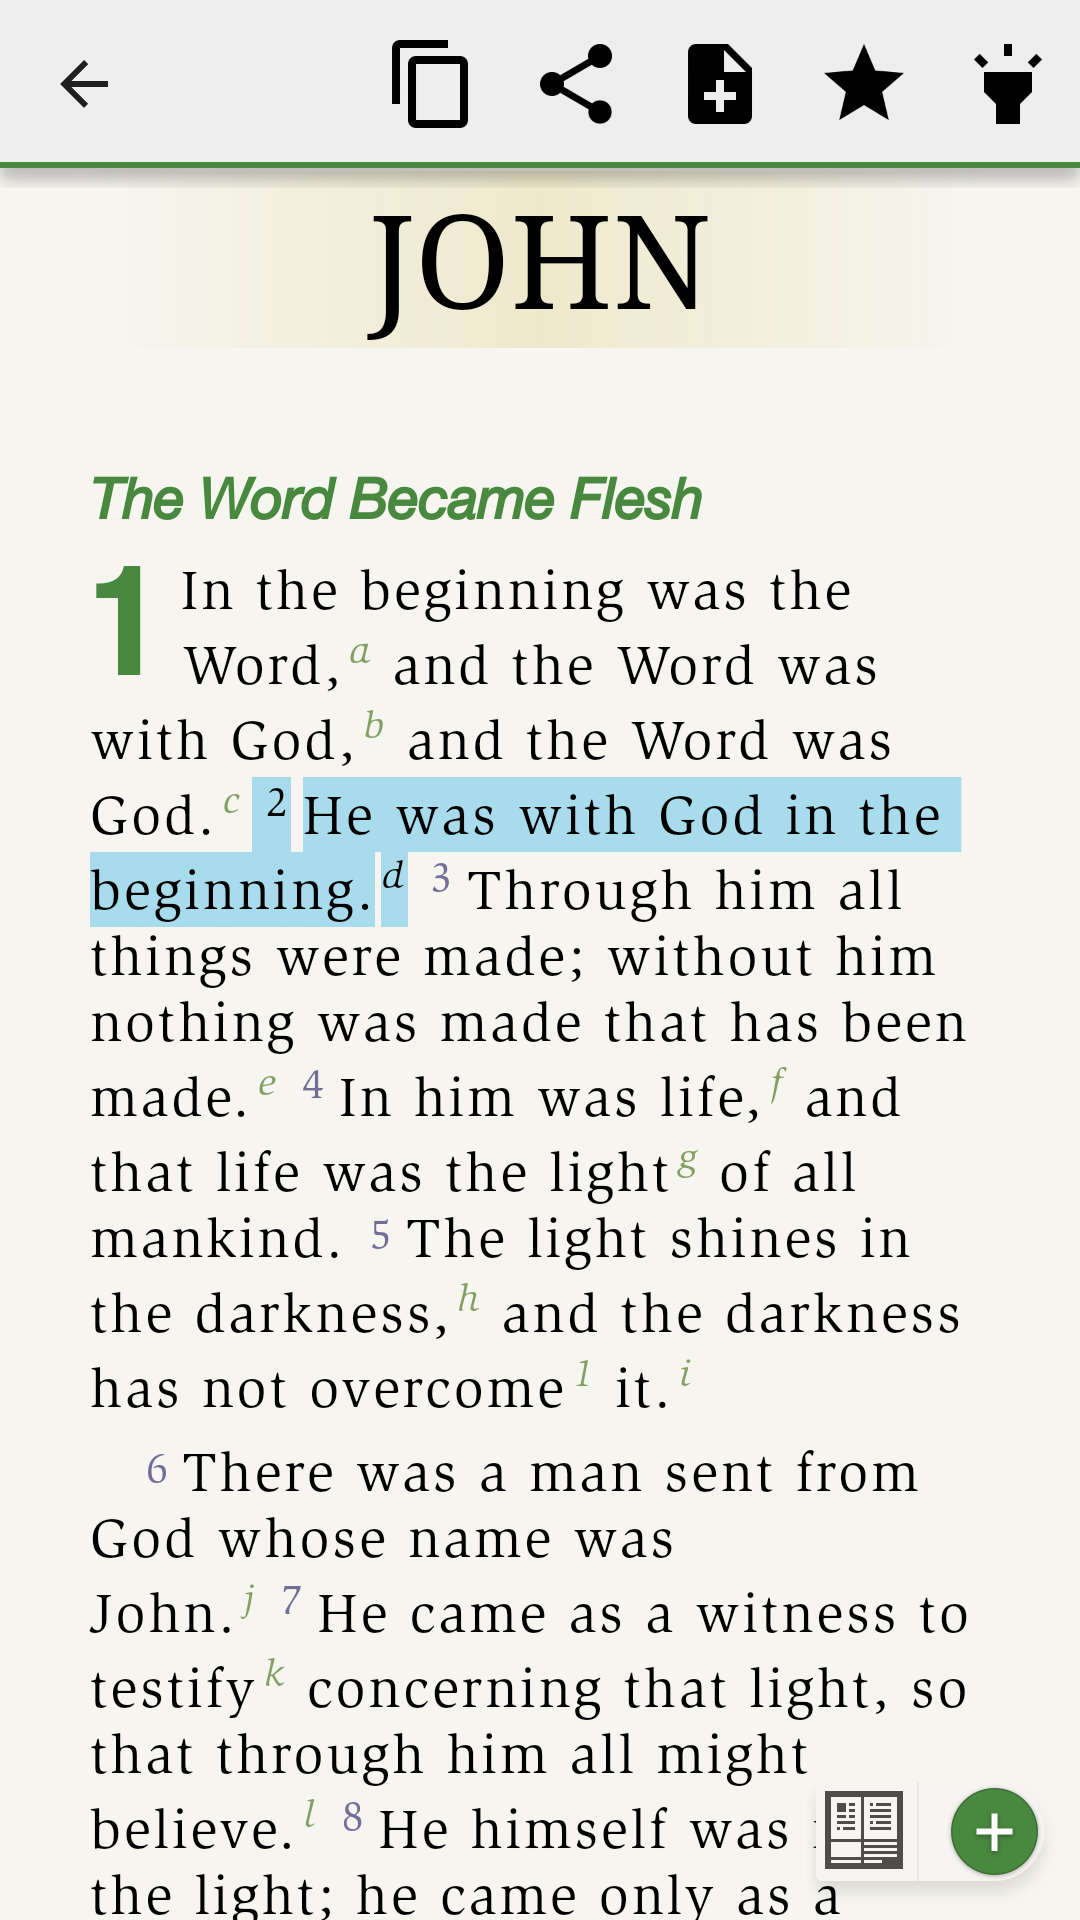

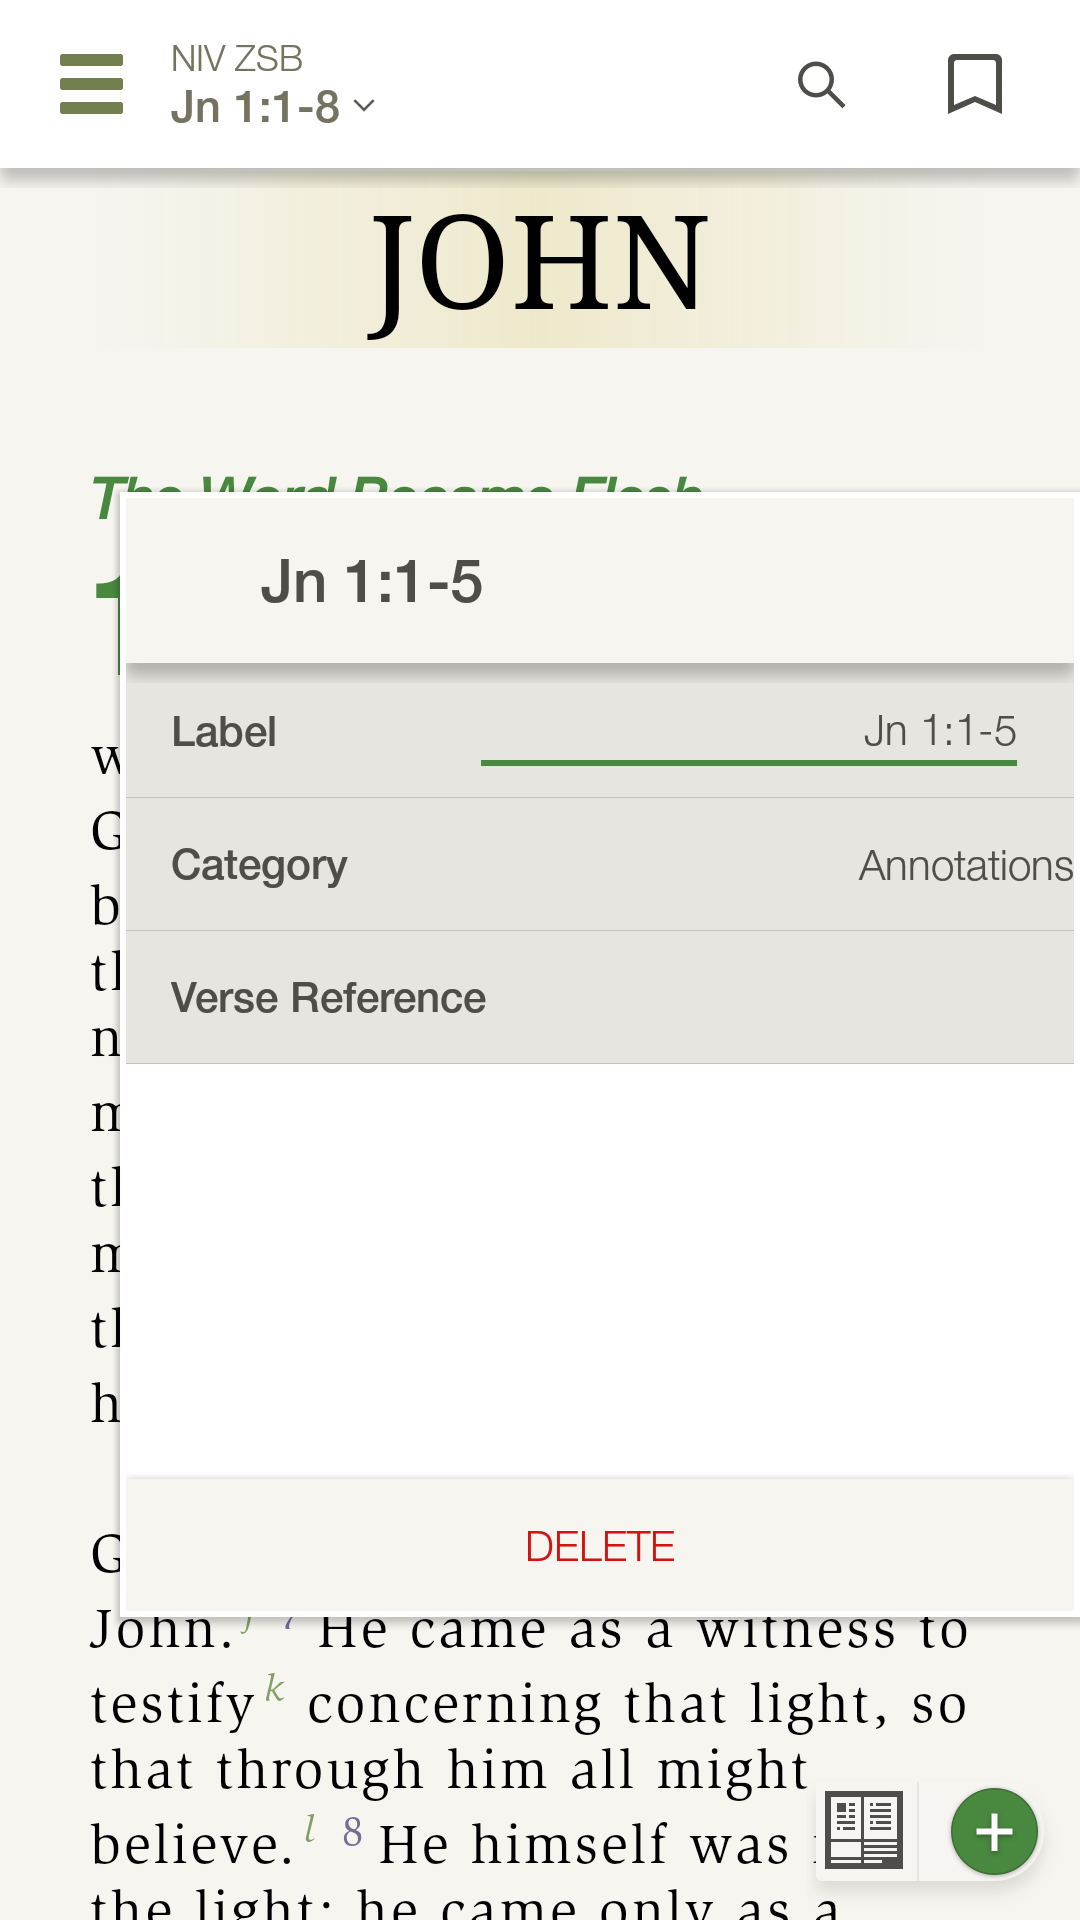
Select the ‘Note’ option from the toolbar that appears and the note editor will pop up. The note editor allows you to label the note, categorize the note, add text to the note, edit tags for the note or delete the note, if needed.
Tap on the large white section to add text to your note. When you are done adding text, tap outside the window to save and exit the note. A note icon will appear in the Bible text next to the verse or text you selected to create the note.
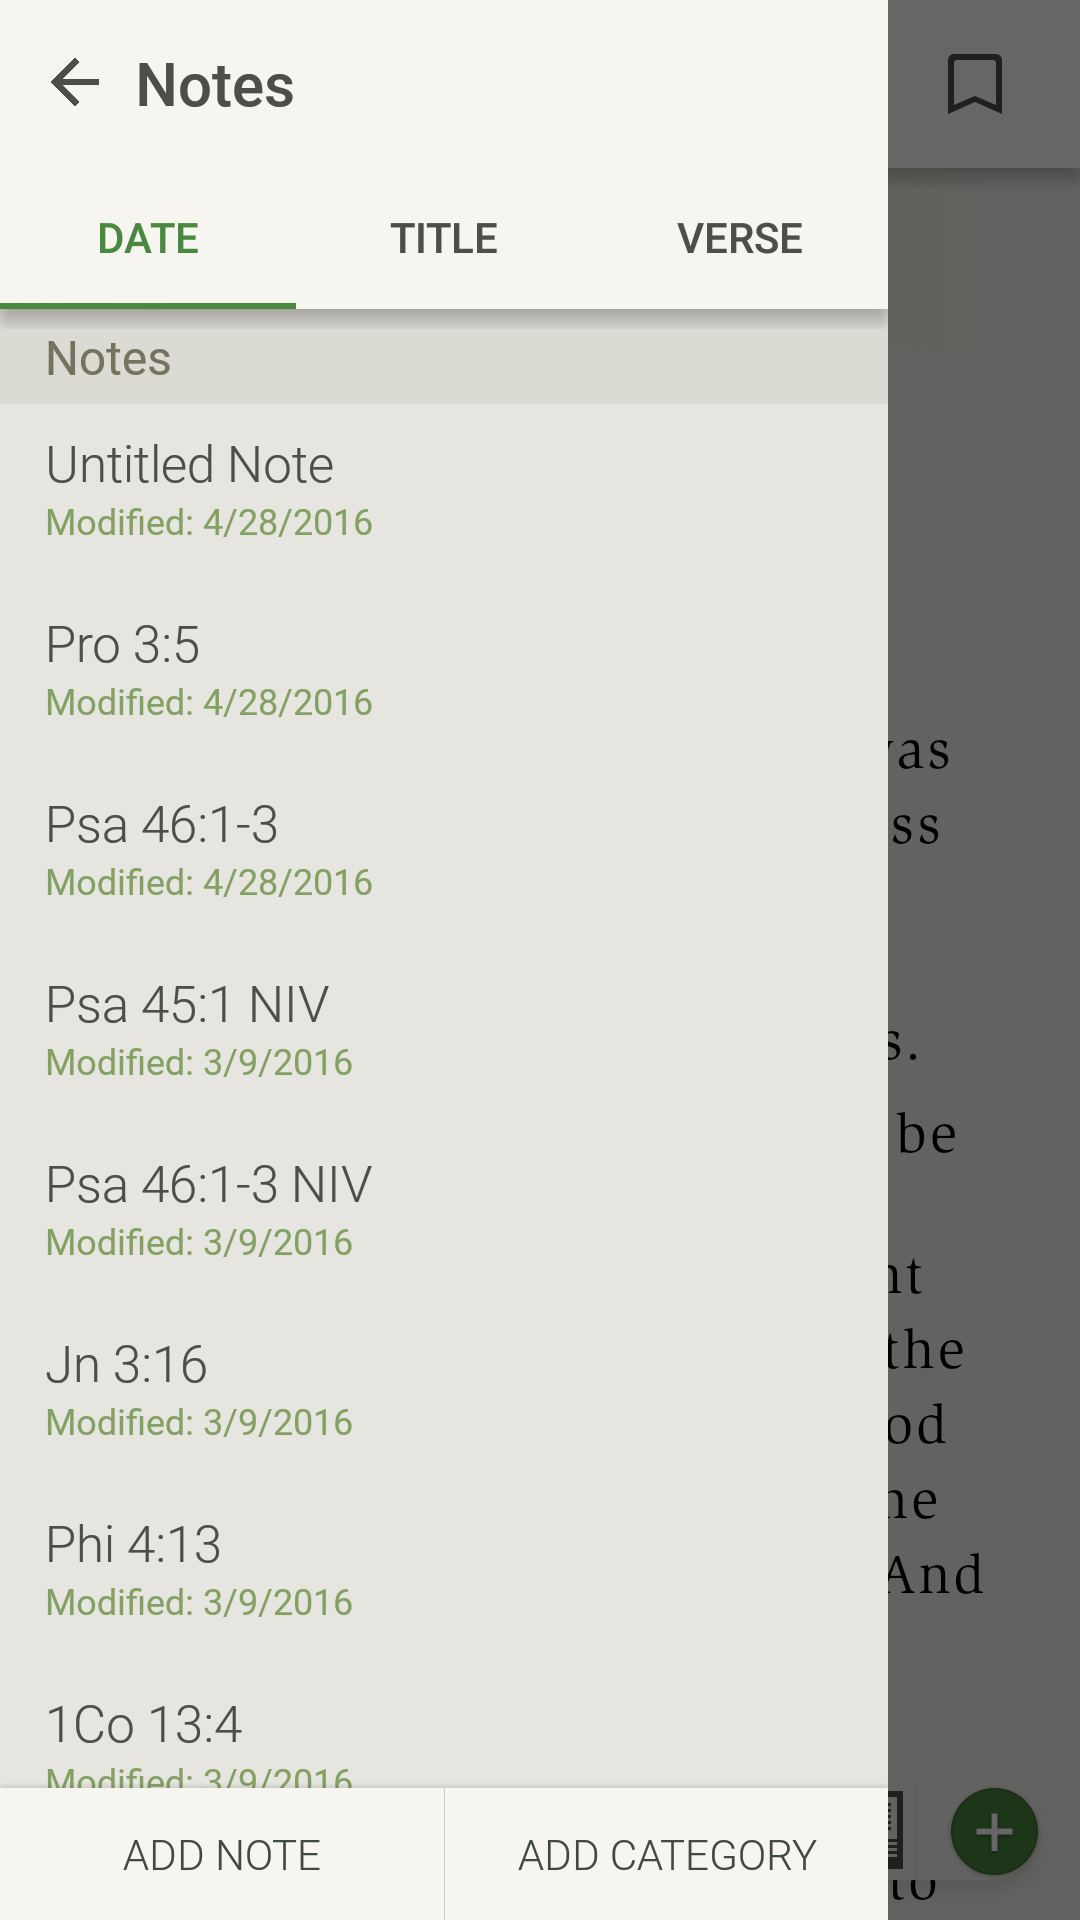
To access the note later, you can tap the note icon in the text to add to or edit the note. You can also tap the menu button in the upper left corner and tap ‘Notes’. Tapping on 'Date', 'Title', or 'Verse' at the top of the screen allows you to list your notes by the date of creation, alphabetically, or by verse location. Tap on a note from the list to add to or edit the note.

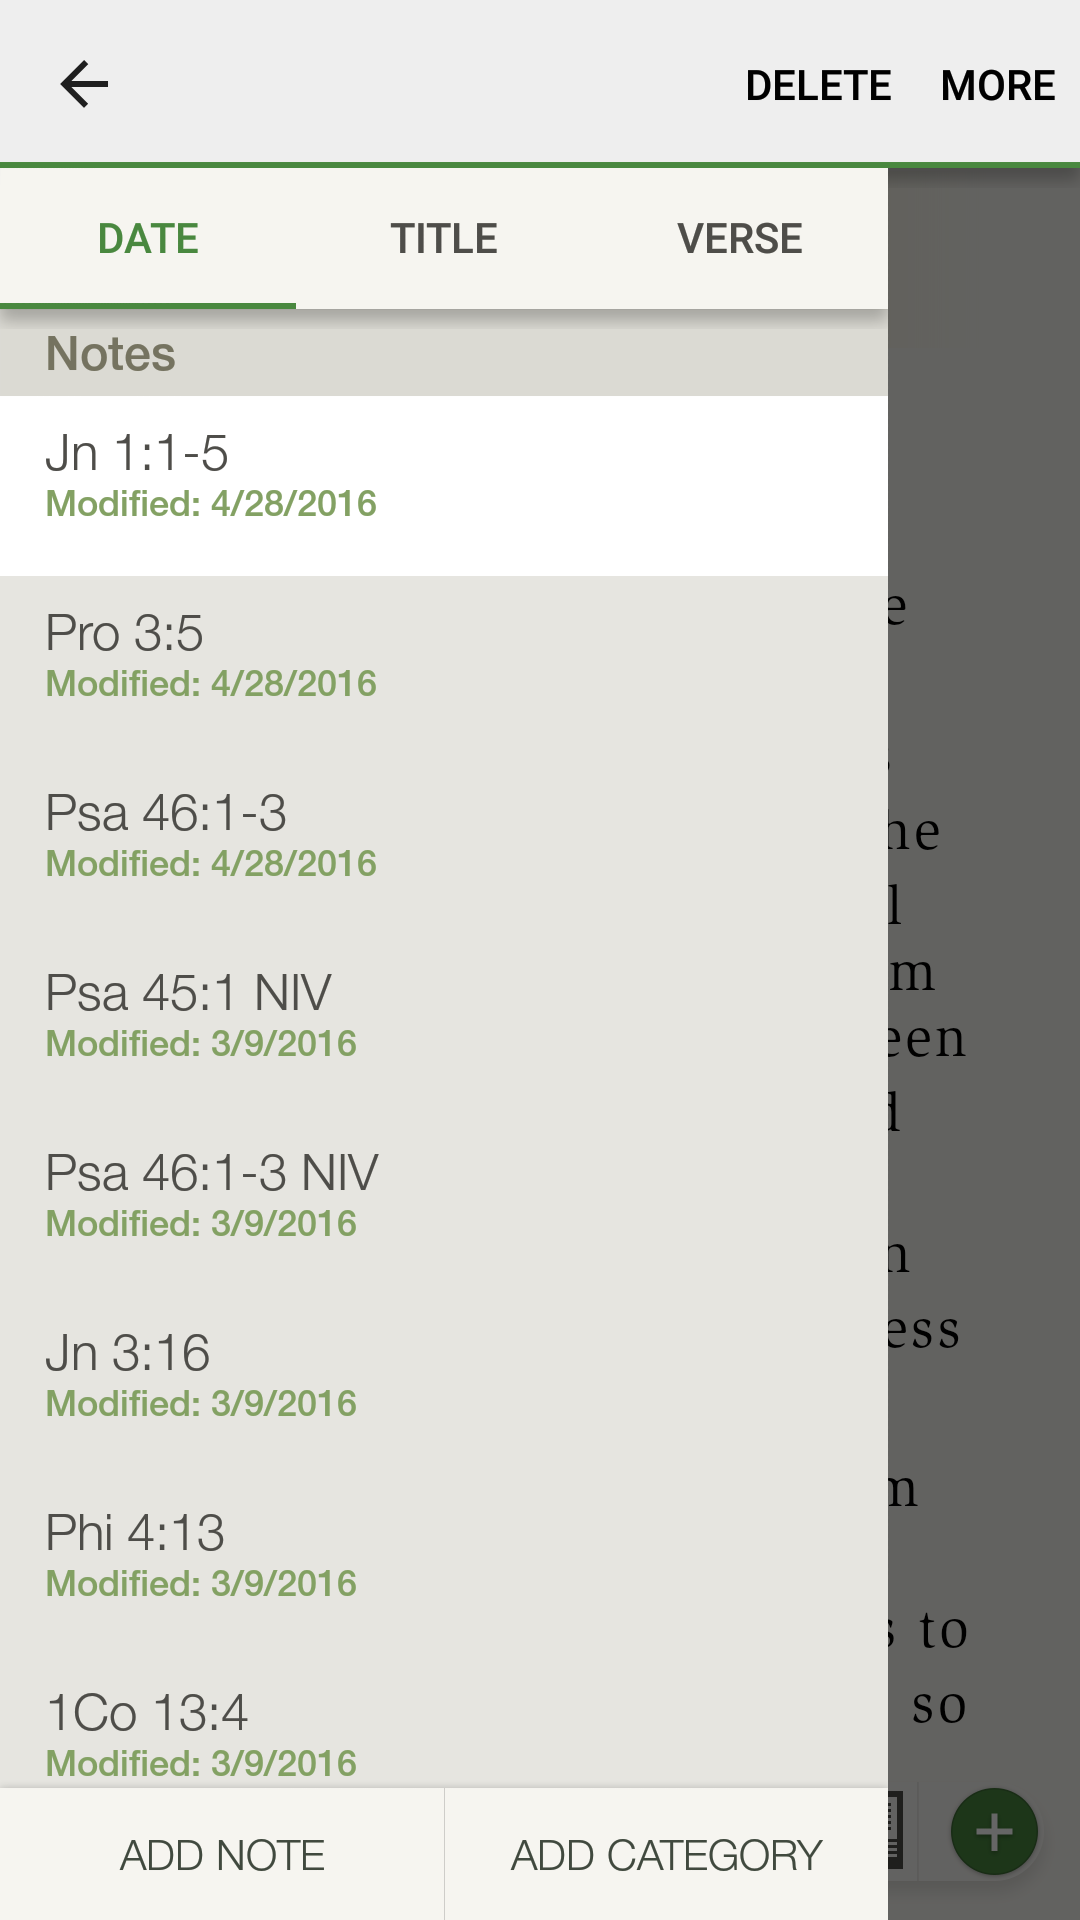
To delete a note, tap and hold an individual note or category to bring up a ‘Delete’ button. Tap ‘Delete’ and ‘Delete’ again to delete the note.
* Note: Photos on this page were taken from the NIV Zondervan Study Bible App, but apply to all Study Bible Apps.*