When you create a tag, you can associate your notes, saved passages, and highlights with topics. You can add a tag to any highlight, saved passage, or note so that selecting the tag displays a list of all the annotations that are tied to that tag.
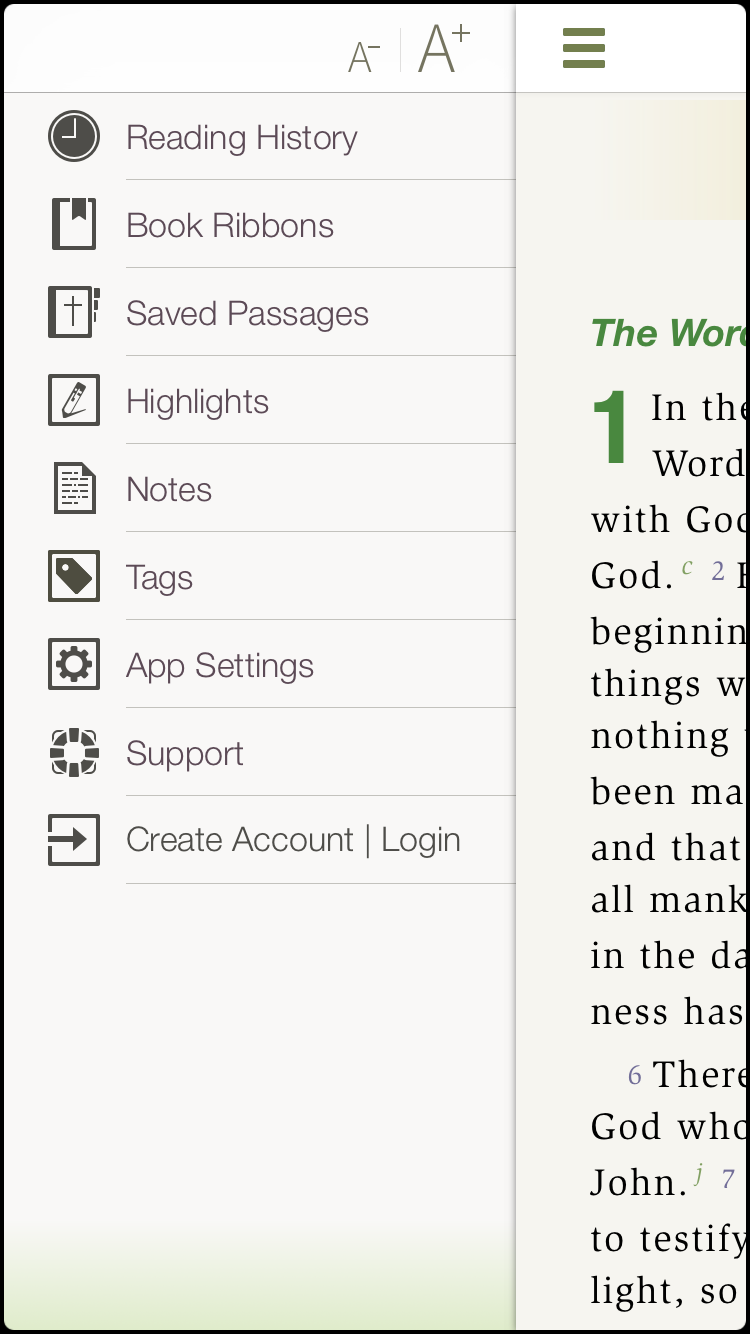
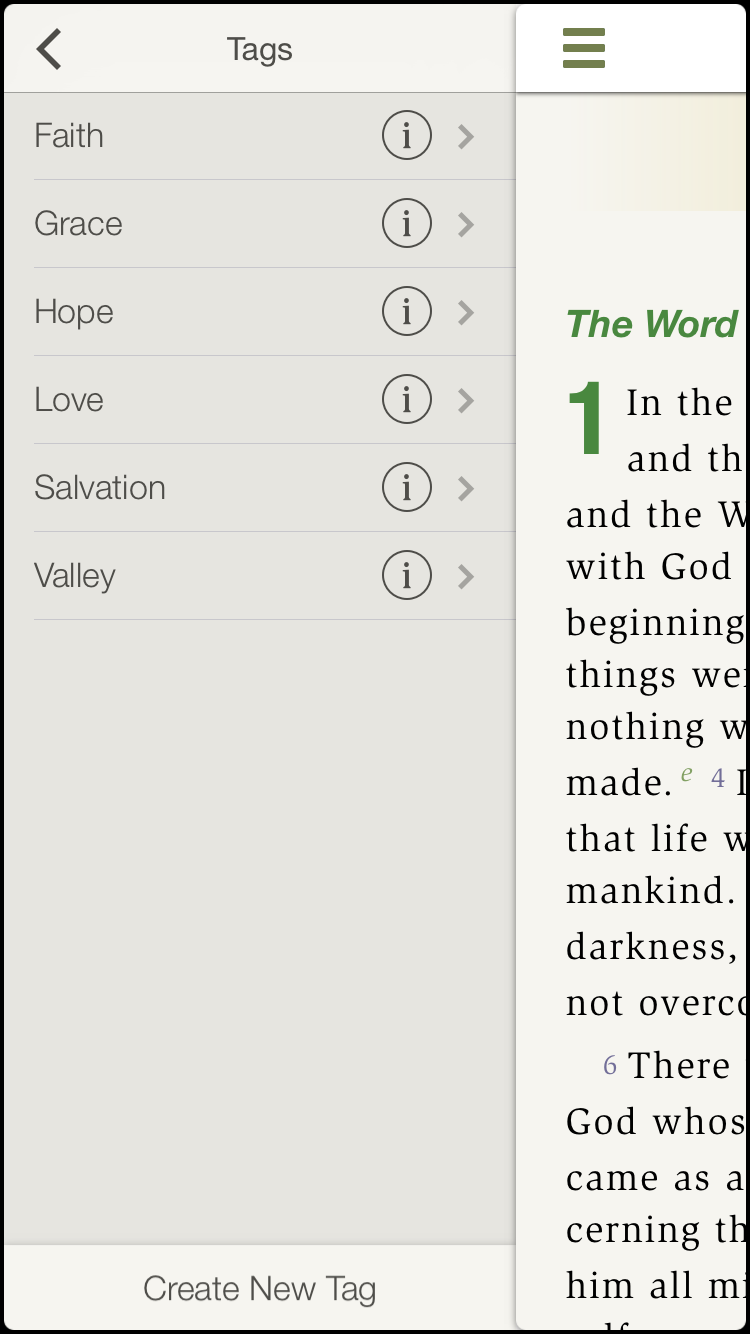
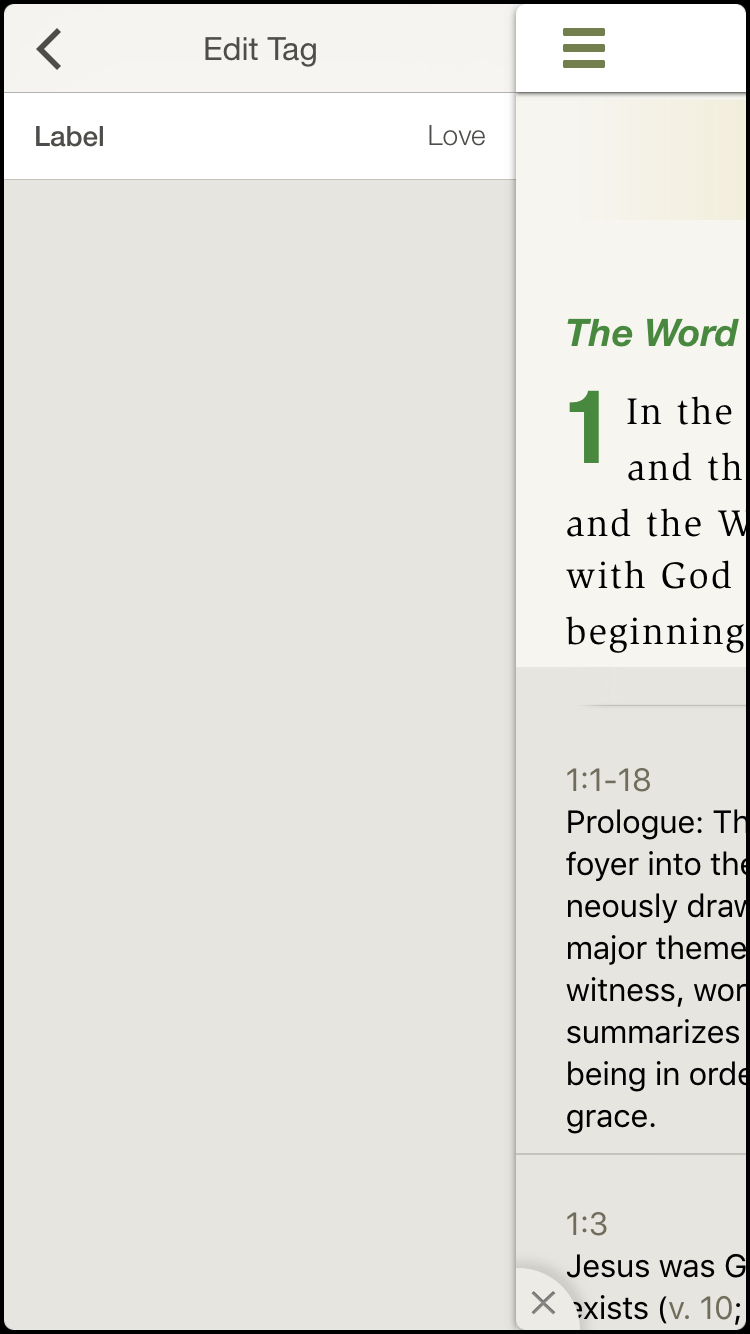
To create a tag, tap the ‘Menu’ icon. Tap the ‘Tags’ button from the list to display the ‘My Tags’ window. At the bottom of the ‘My Tags’ window, tap the ‘Create New Tag’ button. Enter a name for the tag you wish to create in the 'Label' box and tap the arrow in the upper left corner. This takes you back to the ‘My Tags’ window where you will see the new tag listed.
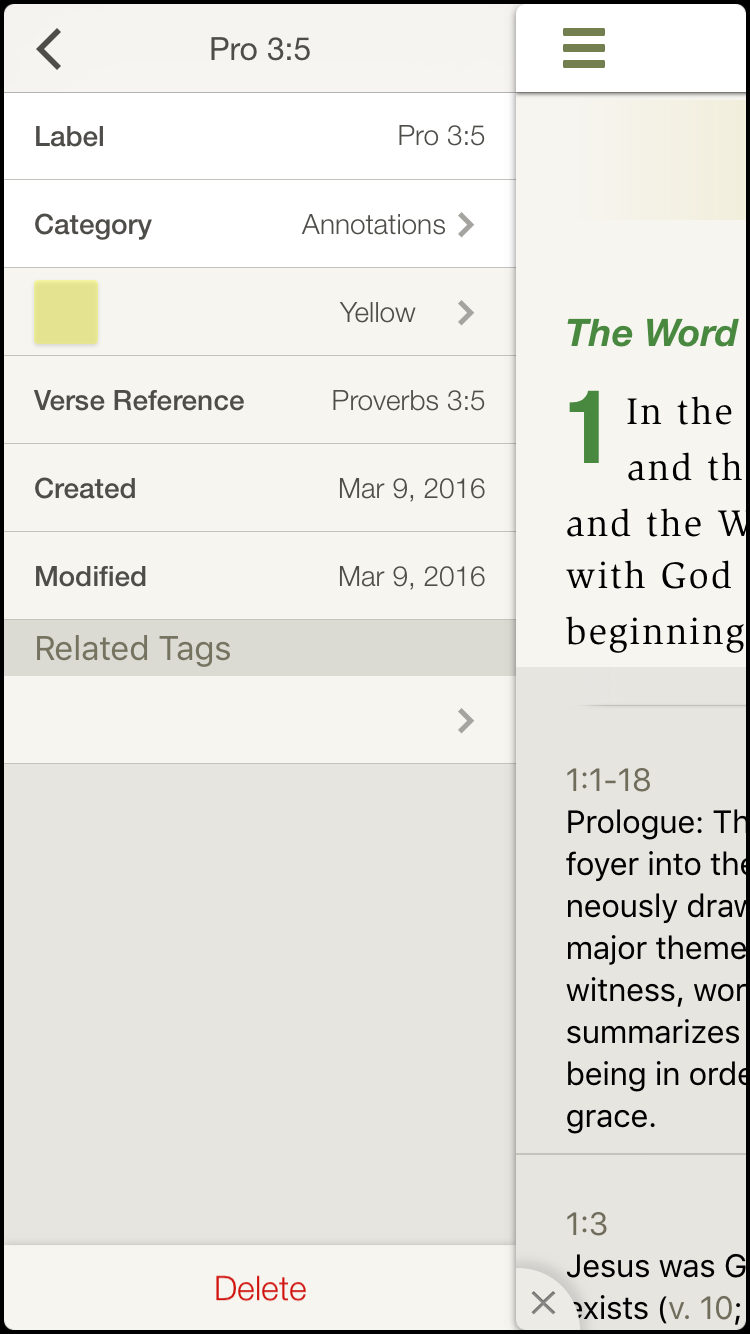
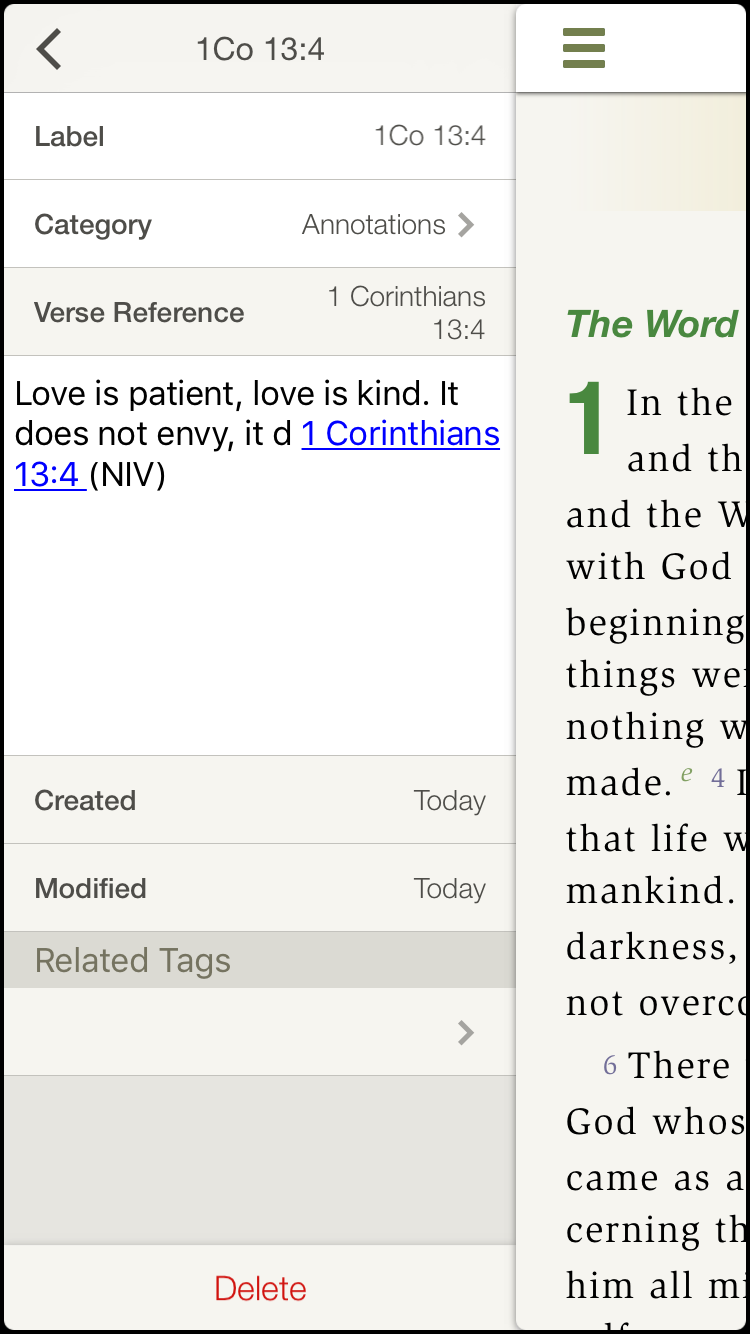
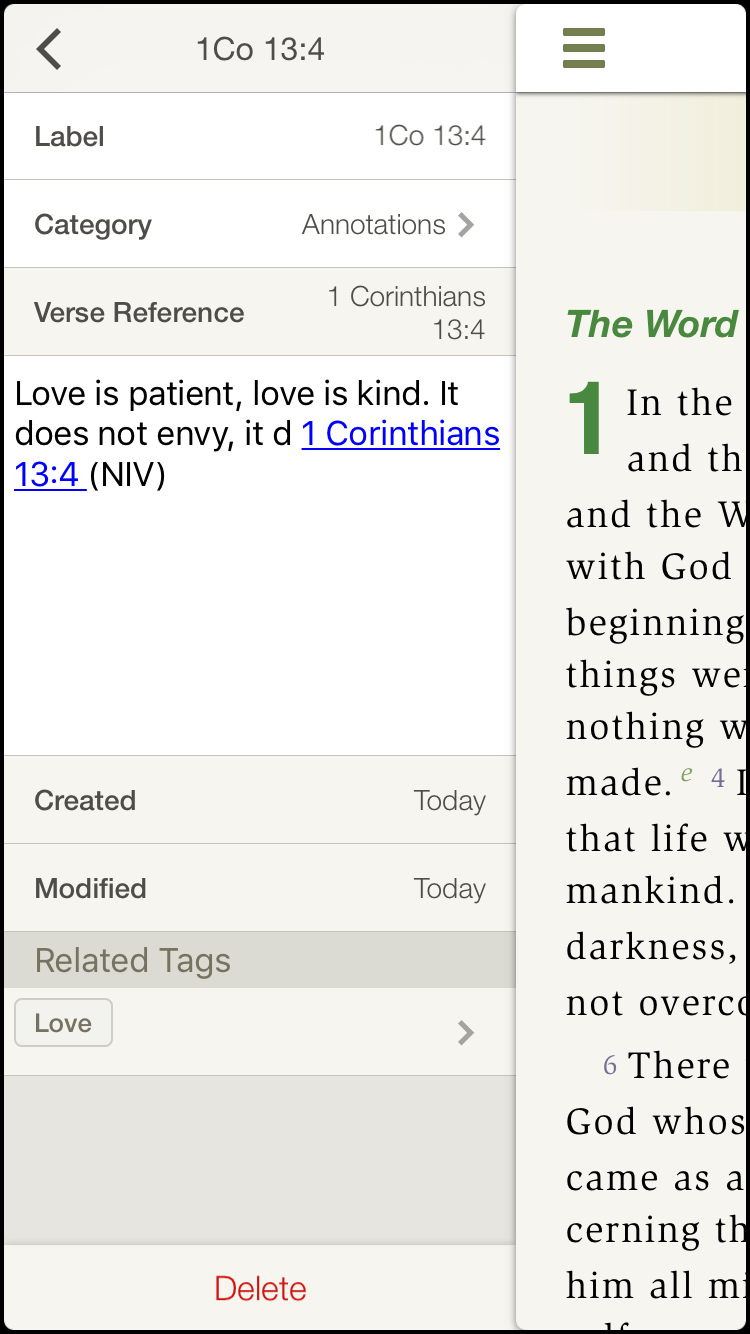
Tags can be added to notes, highlights, and saved passages through the menu by tapping on the respective annotation type, e.g. ‘Highlights’, and then tapping on the ‘i’ icon for the annotation you want to tag. Tap the field under ‘Related Tags’ and tap the tag you want to add. Tap the arrow in the upper left corner to return to the annotation and you’ll see the tag under ‘Related Tags’.
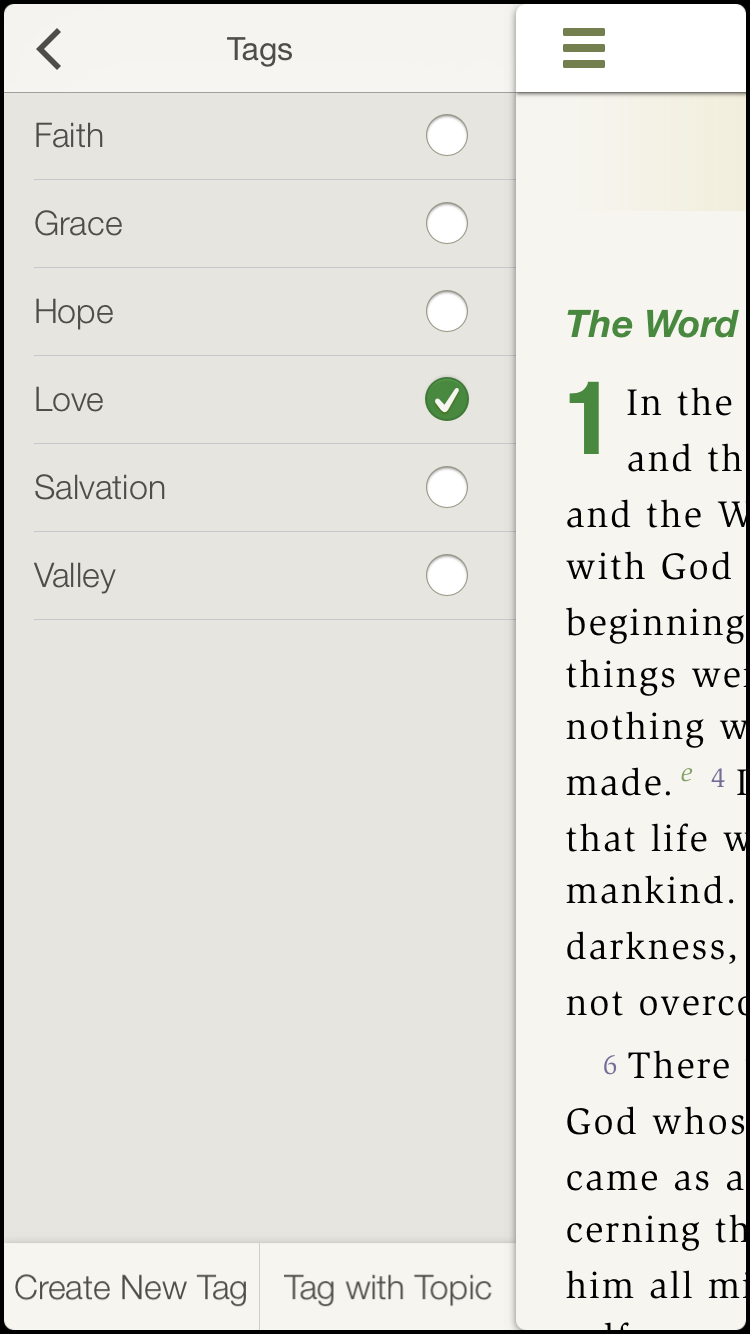
Tags can also be added when editing or creating a note from the Bible text. With the ‘Note Editor’ window open, tap the field under ‘Related Tags’ and tap the tag you want to add. Tap the arrow in the upper left corner to return to the note and you’ll see the tag under ‘Related Tags’. You can also create a new tag from the 'Note Editor' screen.
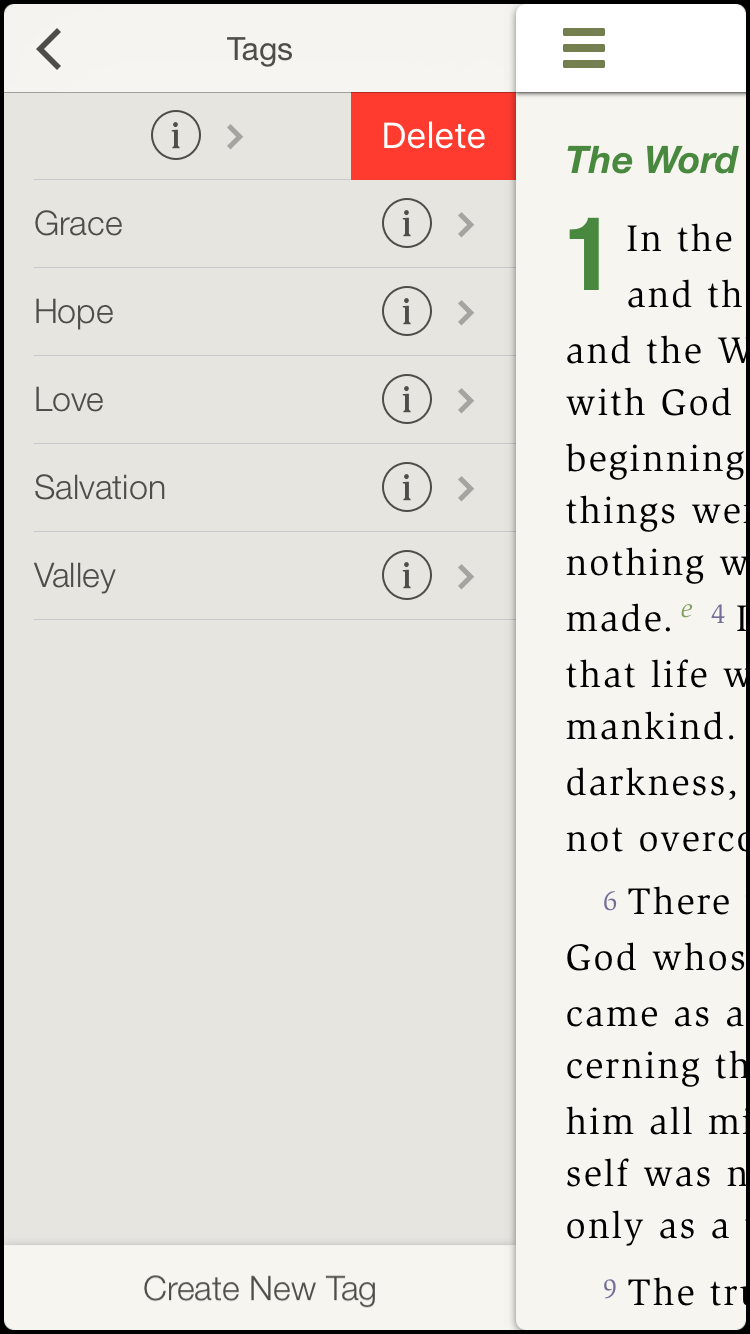
Tags can be accessed and managed by tapping 'Tags' in the menu. From the ‘My Tags’ page, you can tap on each tag to see which annotations are linked to that tag. You can rename tags by tapping on the small ‘i’ icon to the right of each tag. You can delete tags by swiping to the left and tapping on the ‘Delete’ button. This will not delete any of the related annotations.
*Note: Photos on this page were taken from the NIV Zondervan Study Bible App, but apply to all Study Bible Apps.*