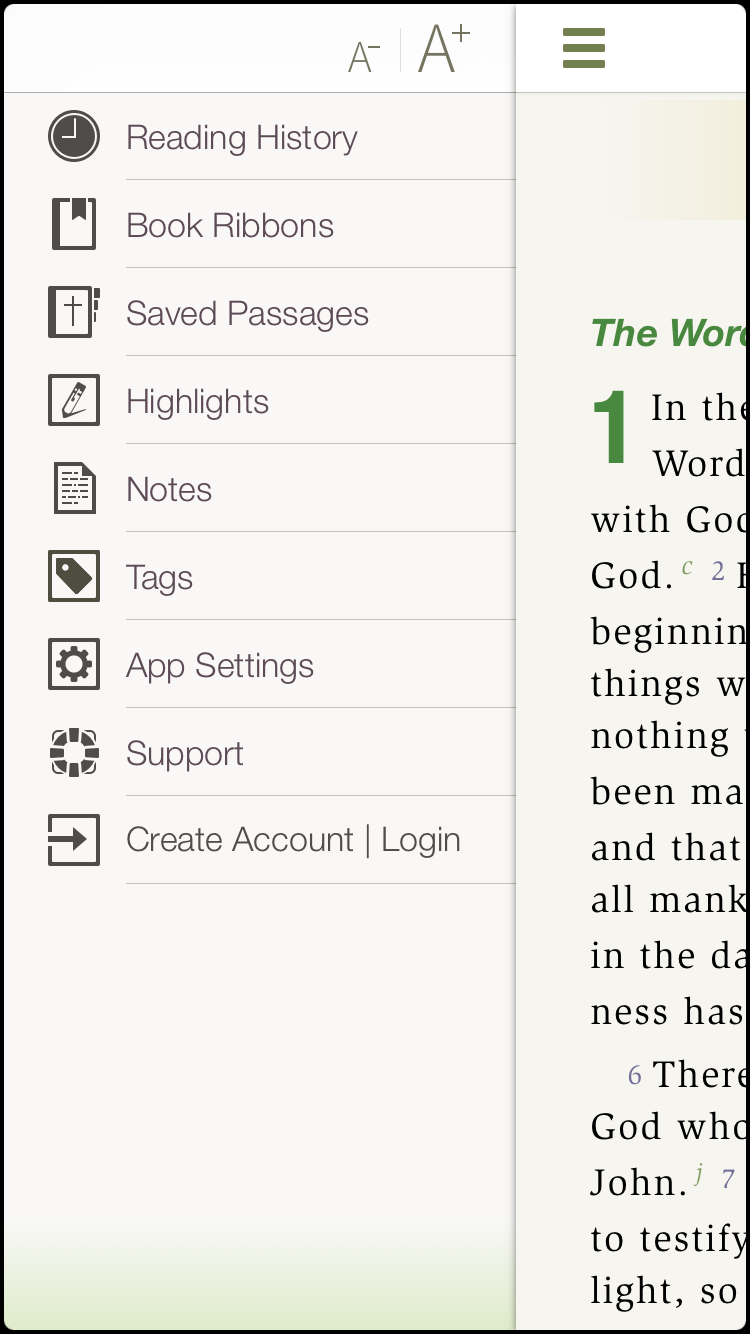
Categories provide an additional method for organizing your annotations. Notes, saved passages, and highlights can be assigned to categories from the menu in the upper left corner.
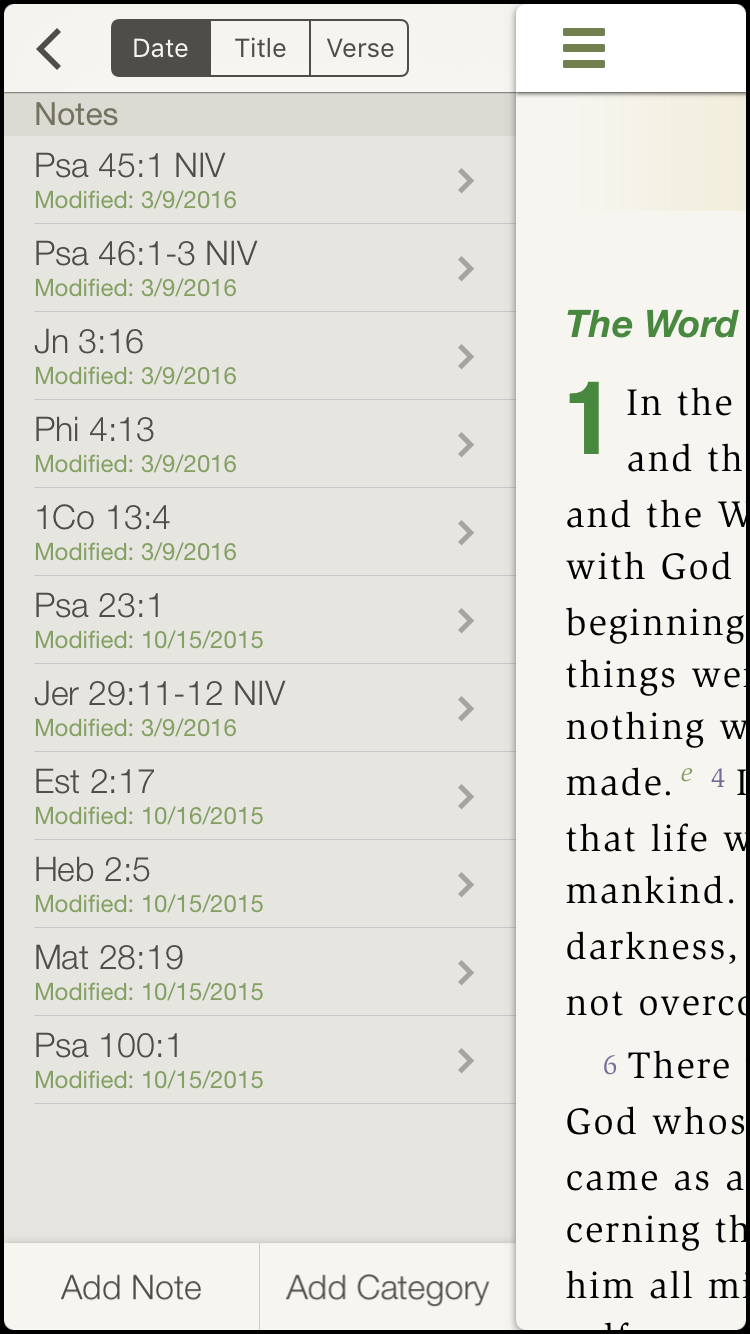
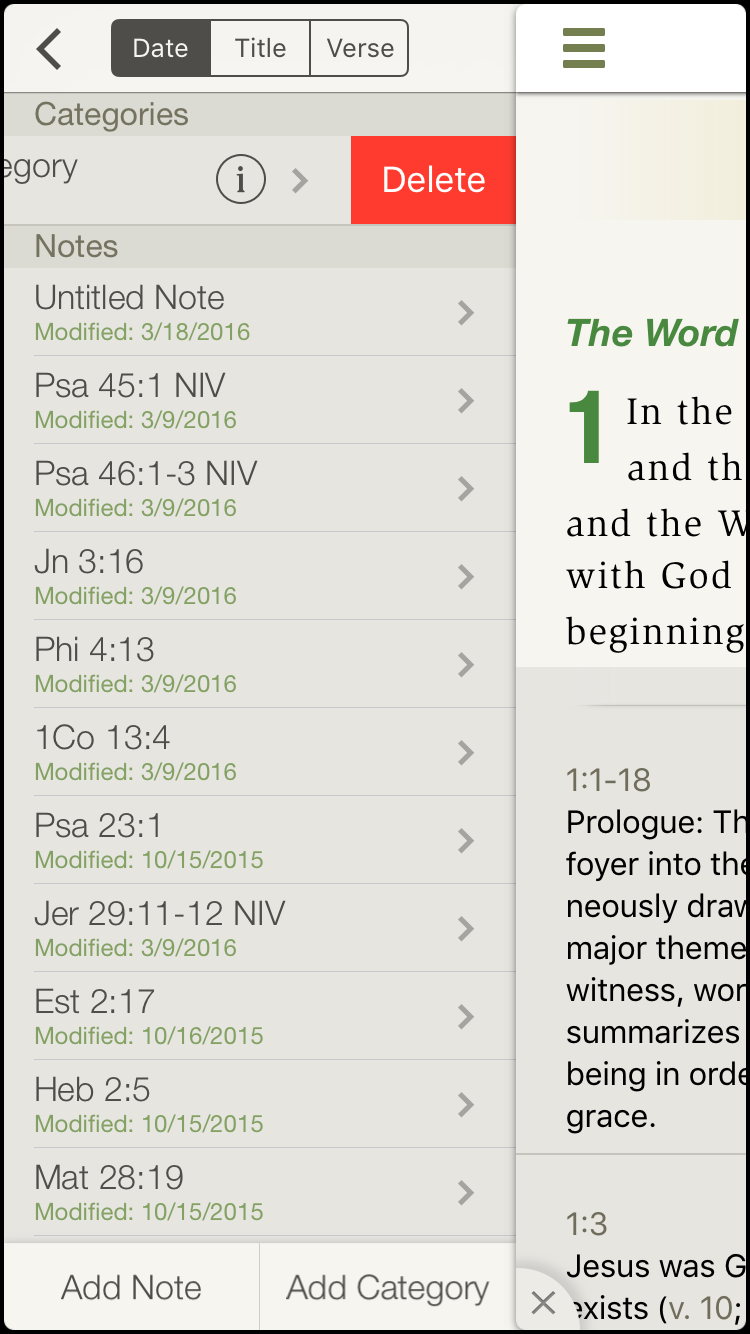
To create a category, tap the menu in the upper left corner and tap on Saved Passages, Notes, or Highlights/Highlight color. At the bottom of the annotation list will be an option that says 'Add Category'.
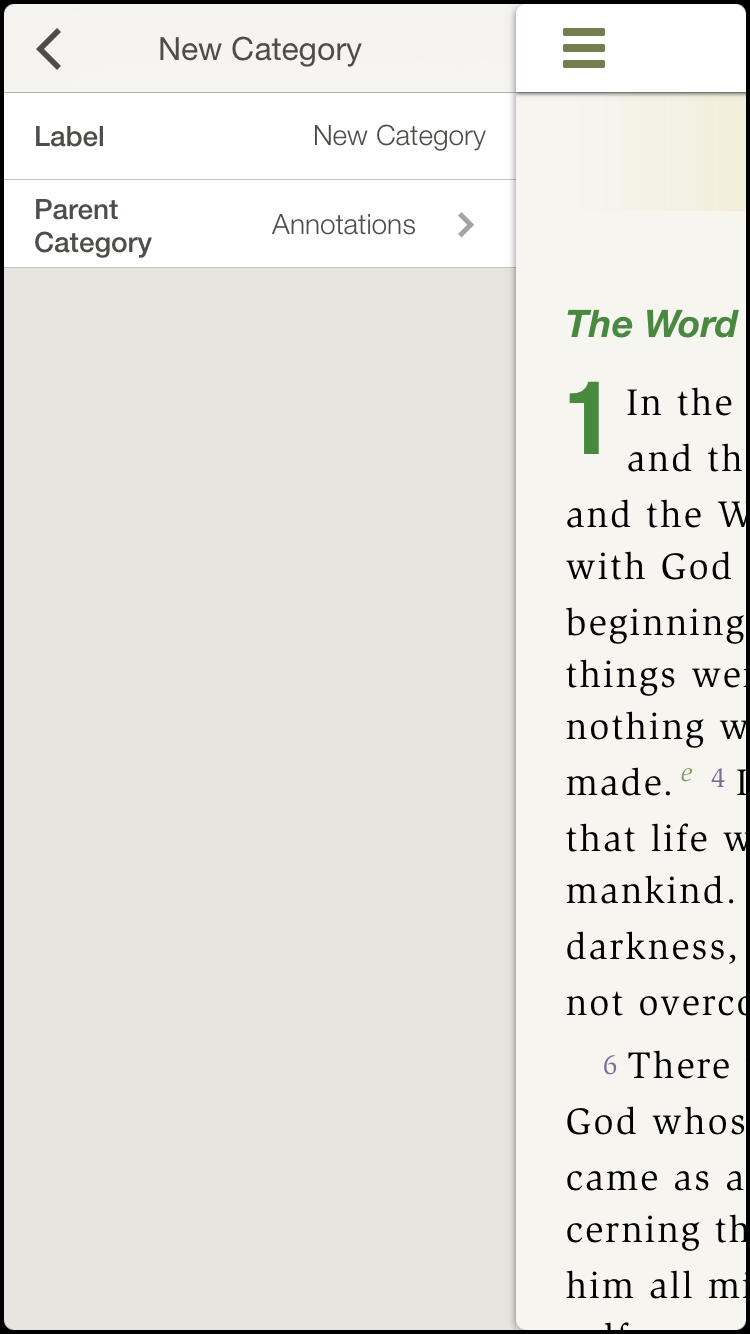
Tap this option and tap in the 'Label' box to delete the current label and type in your new label/title. Tap the back arrow in the upper left corner to save the category.
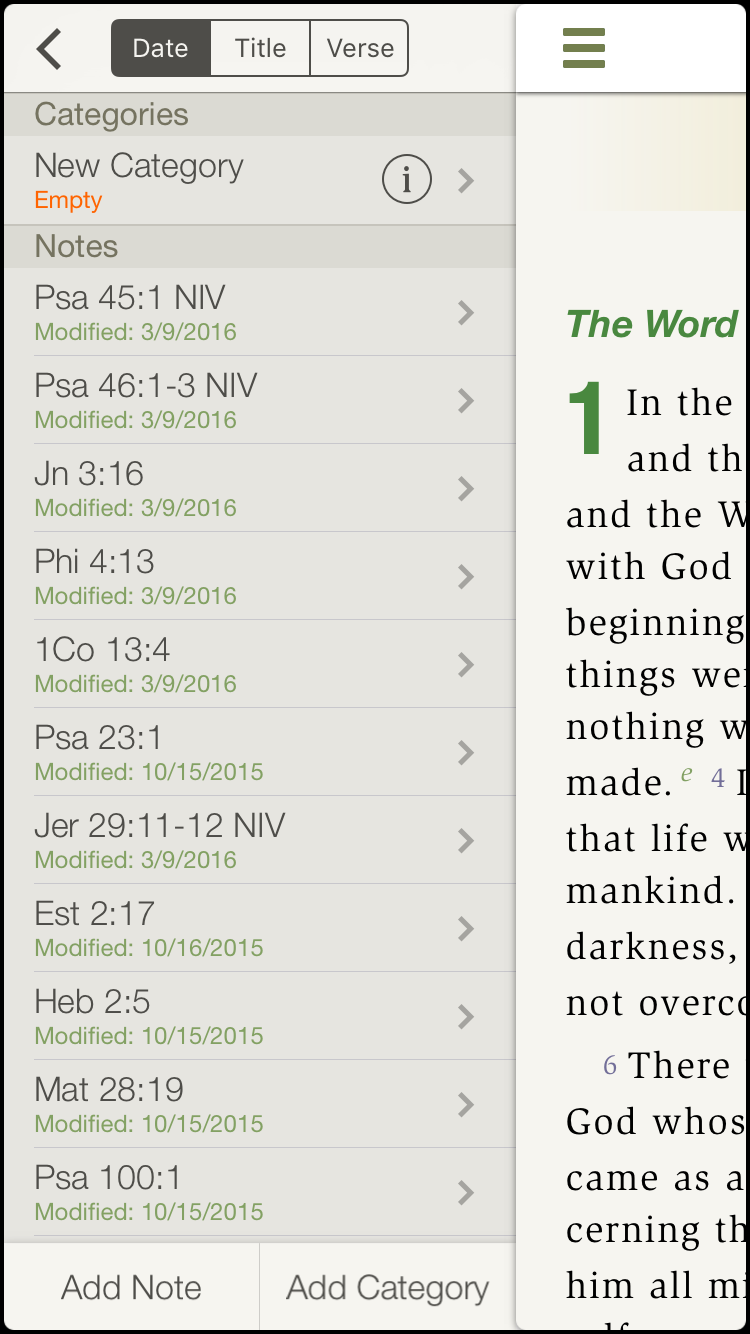
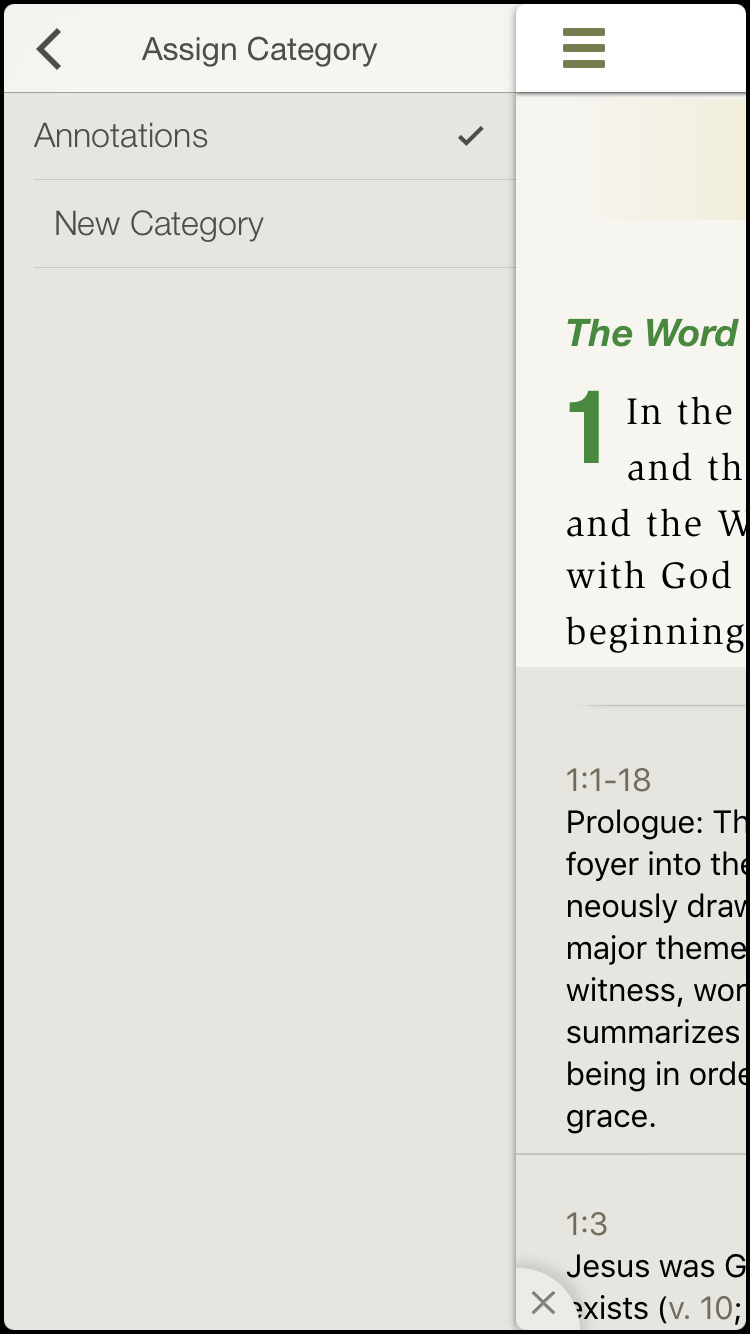
To assign highlights and saved passages to categories, tap on the ‘i’ icon to the right of the highlight or saved passage you want to edit. Tap the ‘Category’ line and choose the category you want to add the annotation to by tapping the option.


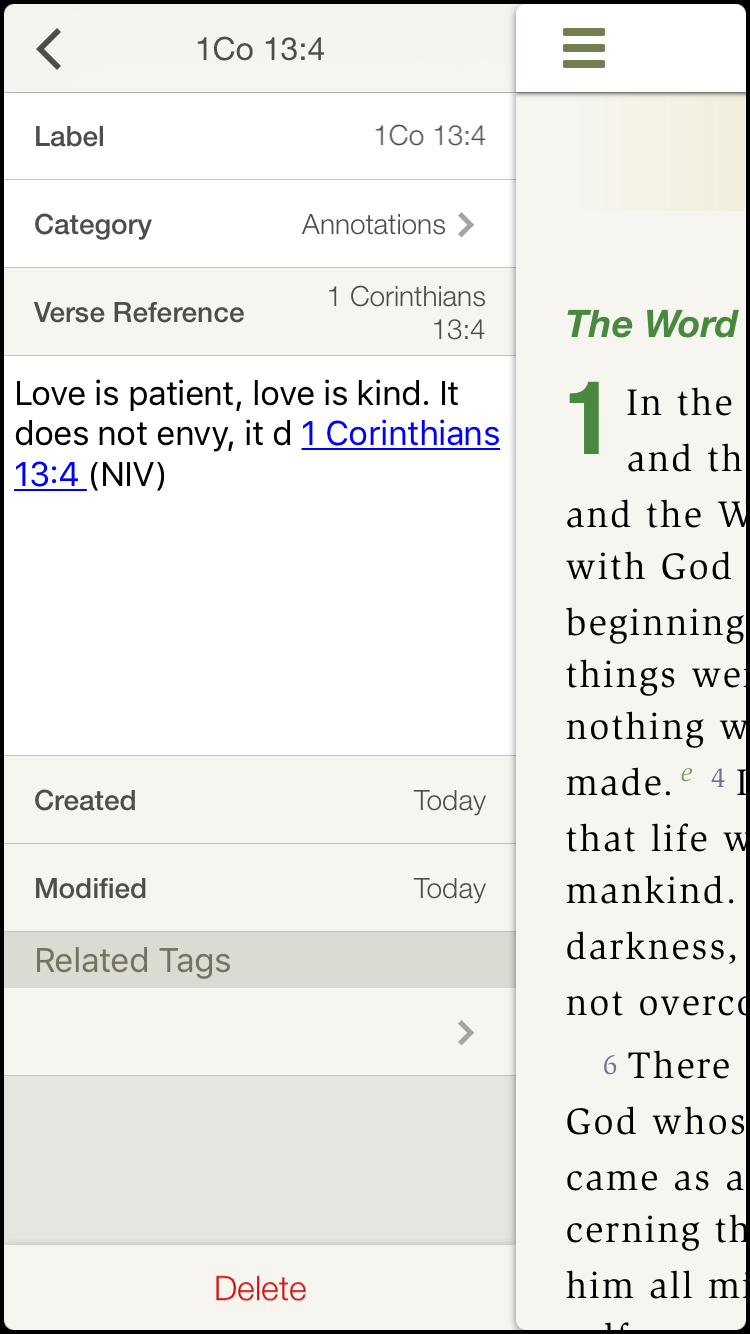
You can add a note to a category from the Bible text or from the menu. Either way, tap the individual note to open the ‘Edit Note’ window and tap the 'Category' field to open your list of categories. Tap the category you want to add the note to and tap the back arrow.
To delete a category, tap the menu and locate the category under Saved Passages, Highlights/Highlight color, or Notes. Swipe from right to left across the category you want to delete to reveal a red ‘Delete’ button. Tap ‘Delete’ and then ‘Delete’ again. This will delete the category and all of its contents.
*Note: Photos on this page were taken from the NIV Zondervan Study Bible App, but apply to all Study Bible Apps.*